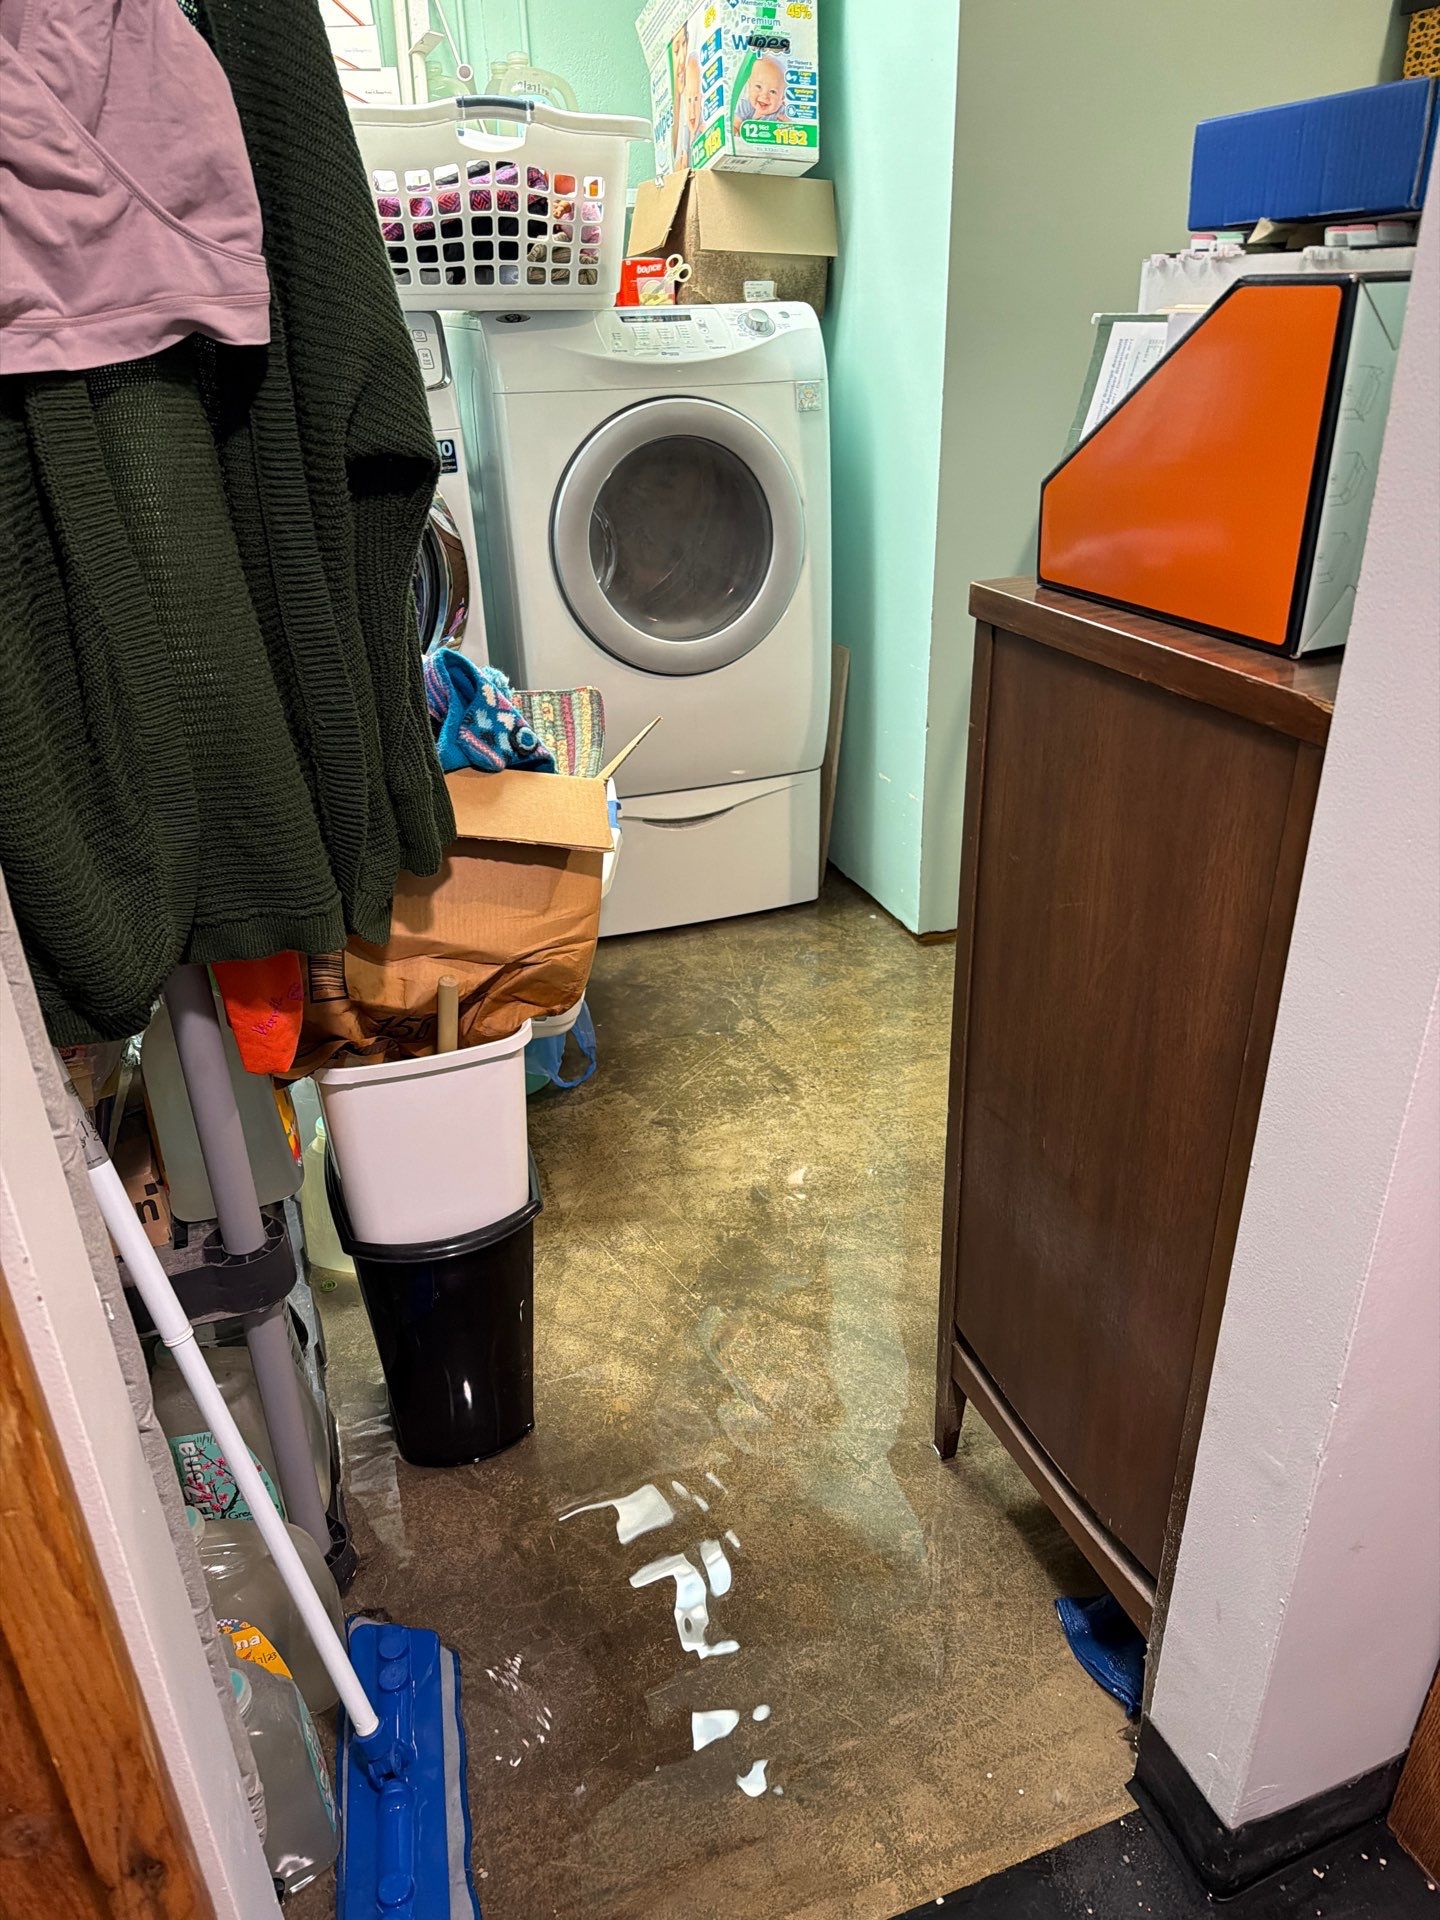
Problem: You Cannot See the Subfloor, So You Miss the Damage Early
The subfloor sits between your finished floor and the joists below. Plywood, OSB, or older plank decking, usually 5/8 inch to 3/4 inch thick. When water sits on it, the material swells, delaminates, and loses load capacity. You will not see any of that from above until the finished floor starts telegraphing the rot. By then, you are often looking at six to twelve months of slow saturation.
In Battle Ground homes, the most common silent sources are ice maker lines behind the fridge, dishwasher supply connections, toilet flange leaks, tub overflow gaskets, and sump pit overflow in finished basements. None of these announce themselves. They drip a teaspoon a day for a year. Older homes with cast iron drain stacks and galvanized supply lines tend to fail at the fittings, while newer construction in Battle Ground often shows problems at PEX crimp connections or hastily installed shower pans. The age of the home tells us where to look first, but it never rules anything out.
Solution: Know the Five Signs That Mean the Subfloor Is Already Wet
You do not need moisture meters to suspect a problem. You need to know what to look at. Walk your house with these five checks:
- Press hard with your heel near every plumbing fixture. Any give, bounce, or sponginess means saturated subfloor underneath.
- Look at hardwood seams. Cupping (edges raised higher than centers) means moisture is coming from below.
- Check tile grout lines for hairline cracks that follow a straight path. That usually means the subfloor is flexing.
- Smell the room. A musty note that returns after cleaning means trapped moisture in the cavity.
- Inspect the ceiling directly below upstairs bathrooms and kitchens for any staining, no matter how faint.
If two or more of these show up, call for an inspection. We pair this with the steps in our guide to detecting hidden leaks behind walls because the source is rarely where the stain appears.
Problem: Mold Starts in the Subfloor Before You Smell It
Subfloor cavities are dark, warm, and undisturbed. Mold colonizes wet OSB in 48 to 72 hours. By the time you notice odor, the colony has often spread to the joist sides and insulation.
Solution: Treat Mold and Moisture as One Job
We never patch a subfloor without addressing what grew underneath. That means HEPA vacuuming, antimicrobial application, and confirming dry standard with a final reading before new sheathing goes down. We also pull back enough insulation to inspect joist faces, because spores love the paper backing on fiberglass batts. Homeowners dealing with longer term saturation should also read our notes on mold after water damage so you know what to ask for.
Problem: Repair Costs Vary Wildly and Most Quotes Hide Things
Subfloor repair in Battle Ground typically falls into one of three tiers, and the price depends almost entirely on what is on top of the subfloor, not the subfloor itself.
- Small spot repair under 25 square feet, vinyl or laminate above: usually $600 to $1,400 including drying, demo, new sheathing, and reinstallation.
- Mid-size repair, 25 to 100 square feet, tile or engineered hardwood above: typically $1,800 to $4,500 because the finished floor rarely survives removal.
- Large structural repair with joist damage, mold remediation, or multiple rooms: $5,000 to $15,000 and sometimes more if sistering joists or replacing a section of decking near a load path.
Quotes that come in dramatically below these ranges usually skip the drying phase, skip mold treatment, or reuse swollen plywood. None of those shortcuts hold up.
Problem: DIY Moisture Readings Lie on Hardwood and Tile
Homeowners buy a $30 pin meter, jab it into a baseboard, get a reading of 12 percent, and assume everything is dry. The problem is that surface moisture and subfloor moisture are two different measurements. A finished hardwood plank can read perfectly normal while the plywood under it sits at 28 percent and feeds mold daily.
The same trap applies to tile floors. Porcelain and ceramic act as a vapor barrier, holding moisture in the substrate while the surface reads bone dry. We have pulled tile off slabs and mud beds in Battle Ground kitchens where every surface meter said the job was finished, and found standing pockets of water beneath. Trust the tools, but only when they are aimed correctly.
Solution: Ask for a Line Item Scope Before You Sign Anything
Your written scope should list the moisture readings, the square footage being removed, the type and thickness of replacement sheathing, the fastener pattern, any joist work, the drying equipment count and duration, and whether antimicrobial treatment is included. If a contractor cannot give you that on paper, you are not getting a real repair.
Ask specifically how the new sheathing will tie into the existing decking. A proper repair lands seams on joist centers, uses construction adhesive plus ring-shank nails or structural screws, and matches the thickness of the original material. Anything thinner creates a soft spot that telegraphs through tile or vinyl within a year.
Solution: How Battle Ground Water Restoration Actually Maps Subfloor Damage in Battle Ground
When our crew arrives, we do not start tearing flooring. We map first. Thermal imaging shows temperature differentials where moisture is trapped. Non-invasive capacitance meters read through finished surfaces to a depth of about three quarters of an inch. Pin meters get pushed through grout lines or seams to confirm the actual subfloor reading. Only after we have a moisture map do we discuss whether the floor comes up.
That mapping is also what your insurance adjuster needs. Documented readings, photos, and a clear scope are the difference between a covered claim and a denied one. We walk every Battle Ground client through that documentation before any demolition starts, similar to the approach we outline for emergency water mitigation work.