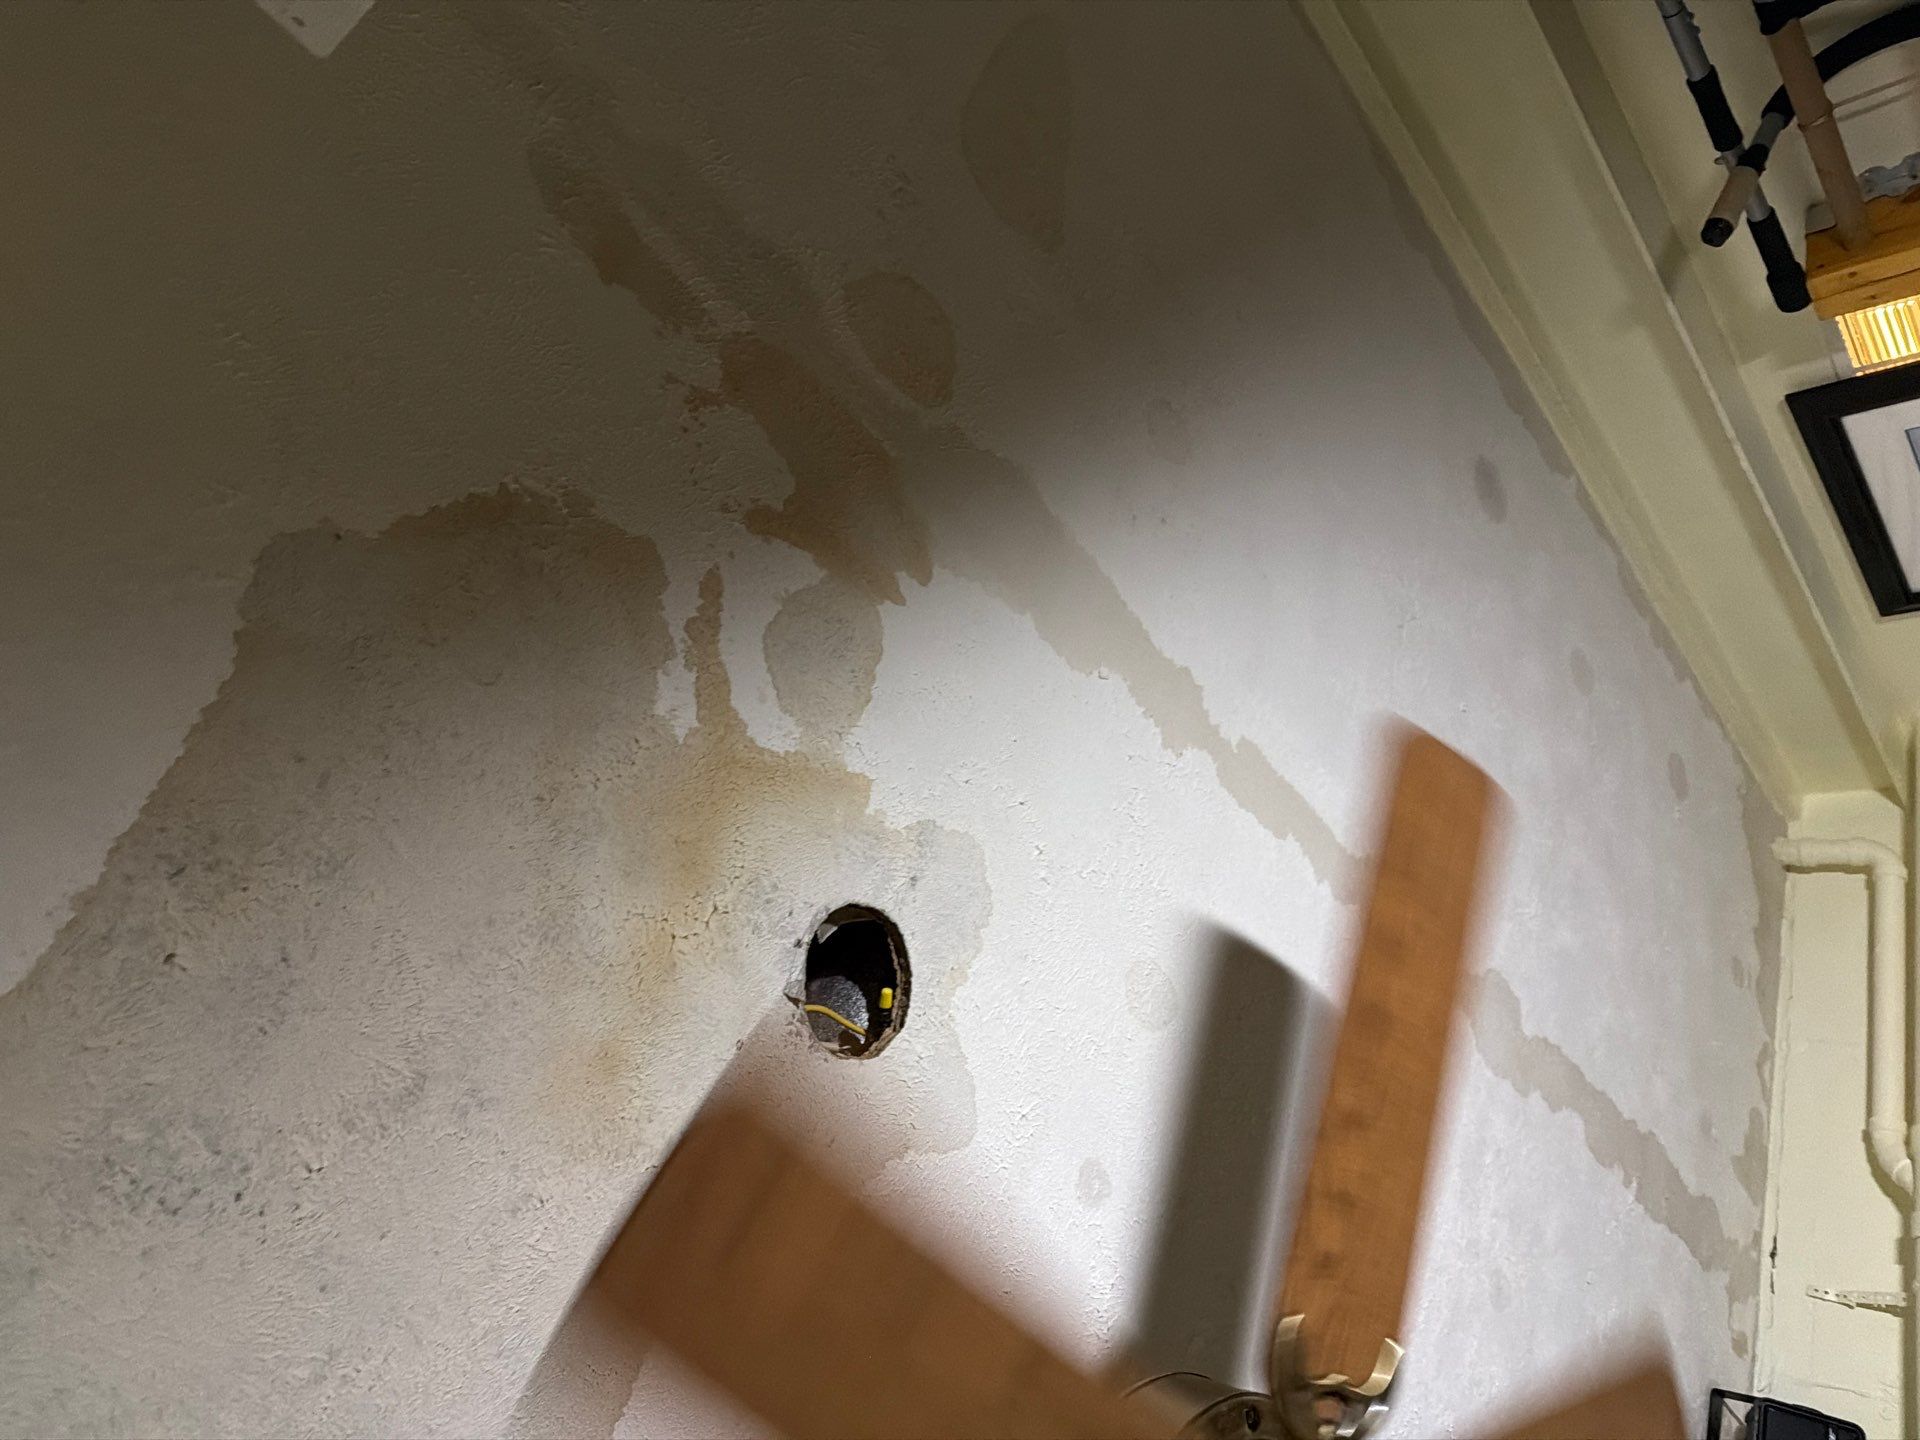
Problem: You Cannot See the Leak Until the Damage Is Already Done
Roof leaks hide. Water enters at a failed flashing or a cracked shingle, runs along a rafter, and drops onto insulation several feet from the actual entry point. You see a stain on the ceiling below and assume the leak is right above it. It almost never is. By the time the stain appears, the attic deck above has been wet long enough for the sheathing to start delaminating.
Solution: Map the Leak with Moisture Meters and Thermal Imaging
Our technicians start in the attic with pin and pinless moisture meters and a thermal camera. We trace the wet trail from the drip point on the ceiling back uphill along the rafters to the actual roof penetration. This matters because patching the wrong spot does nothing, and homeowners who guess often pay twice. Common entry points we find in Battle Ground homes include nail pops along ridge lines, failed pipe boot gaskets that have dried and cracked, step flashing that has pulled away from chimney masonry, and skylight curbs where the sealant has aged out. Each of these leaves a slightly different signature on the thermal camera, which is why we sweep the entire deck rather than focusing only on the visible stain. Our guide to early detection of hidden water damage covers the warning signs you can spot from inside the house before climbing up.
Problem: Wet Insulation Has Lost Its R-Value and Is Holding Water Against Your Ceiling
Fiberglass batts and blown cellulose both fail when saturated. Cellulose mats down and stays wet for weeks, slowly soaking the drywall below. Fiberglass loses most of its insulating value and becomes a sponge that drips onto your ceiling every time you walk above it. Even after the roof is patched, wet insulation continues to feed moisture into the ceiling assembly. Homeowners often notice their heating or cooling bills climbing in the months after a leak, and the cause is usually insulation that was never properly replaced.
Solution: Remove, Bag, and Replace the Compromised Sections
We do not try to dry insulation in place. It does not work, and trapped moisture leads straight to mold. Here is the typical process:
- Isolate the wet area with containment so dust and spores do not spread through your HVAC.
- Bag and remove the saturated insulation, then HEPA vacuum the deck below.
- Dry the framing and sheathing with air movers and a low-grain refrigerant dehumidifier.
- Reinstall new insulation to match or exceed the original R-value once moisture readings hit dry standard.
We also inspect the vapor barrier during this step. A torn or missing vapor barrier under wet insulation is one of the main reasons attic moisture migrates into living space, and replacing it while the cavity is open costs a fraction of doing it later.
Problem: Poor Attic Ventilation Is Making Every Leak Worse
Even a small leak turns into a major problem when the attic cannot breathe. Blocked soffit vents, painted-over gable louvers, and bathroom exhaust fans that dump into the attic instead of outside all trap humidity against the underside of the deck. The result is that even after we dry the leak, the attic stays in the 70 to 80 percent relative humidity range, which is enough for mold to keep growing on its own.
Solution: Inspect Ventilation Before We Close the Job
Before we sign off, we verify that intake and exhaust ventilation are balanced and unblocked. If a bath fan is venting into the attic, we flag it for the homeowner to reroute through the roof or soffit. This is a small detail that prevents the same call six months later.
Problem: The Sheathing and Rafters Are Starting to Rot
OSB and plywood sheathing swell, delaminate, and lose structural strength when wet for extended periods. Rafters develop dark staining that signals fungal decay. Push a screwdriver into a suspect rafter and if it sinks easily, you have rot, not just discoloration. Left alone, this becomes a roof replacement problem rather than a leak repair.
Solution: Dry First, Then Repair What Cannot Be Saved
We get moisture content in framing back below 16 percent before any structural decision is made. Wood that is simply wet can usually be saved. Wood that has gone soft has to be sistered or replaced, and that is a coordinated job between our restoration crew and a qualified roofer or carpenter. If your ceiling drywall is also affected, the ceiling water damage restoration process picks up where the attic work ends.
Problem: Your Insurance Adjuster Wants Documentation You Do Not Have
Roof leak claims get denied or underpaid when homeowners cannot prove the cause was sudden rather than long-term neglect. Photos taken after cleanup do not help. Verbal descriptions do not help. Adjusters want moisture maps, dated photos, and a clear scope of work tied to the loss.
Solution: Build the Claim File as We Work
From the first walk-through, we photograph everything, log moisture readings room by room, and produce a written scope you can hand directly to your carrier. Battle Ground Water Restoration has worked with most major insurers in Battle Ground and we know what their adjusters need to approve payment without the back and forth that drags claims out for months. When you call, a crew is dispatched in most cases within 2 hours, and that early documentation often makes the difference between a covered claim and a denied one.
Problem: Mold Has a 48 Hour Head Start in a Warm, Dark Attic
Attics are the perfect mold incubator. They are warm in summer, dim year round, and full of organic material like wood sheathing, paper-faced drywall, and cellulose. Once water sits on those surfaces for a day or two, colonization begins. By the time you smell that earthy attic odor downstairs, growth is already visible on the rafters. Our breakdown of how fast mold grows after water damage explains the 48 hour rule in detail.
Solution: Remediate Under S520 Protocol, Not with a Spray Bottle
Bleach on rafters is not remediation, it is a cosmetic cover. Real mold work means containing the area with negative air pressure, HEPA filtering the workspace, physically removing affected materials, and treating the remaining wood with an EPA registered antimicrobial. We document moisture levels before, during, and after so your insurance carrier has clear evidence of completed work. Post-remediation verification is the final step, and on larger jobs we recommend an independent indoor air quality test so the clearance is not coming from the same company that did the work.